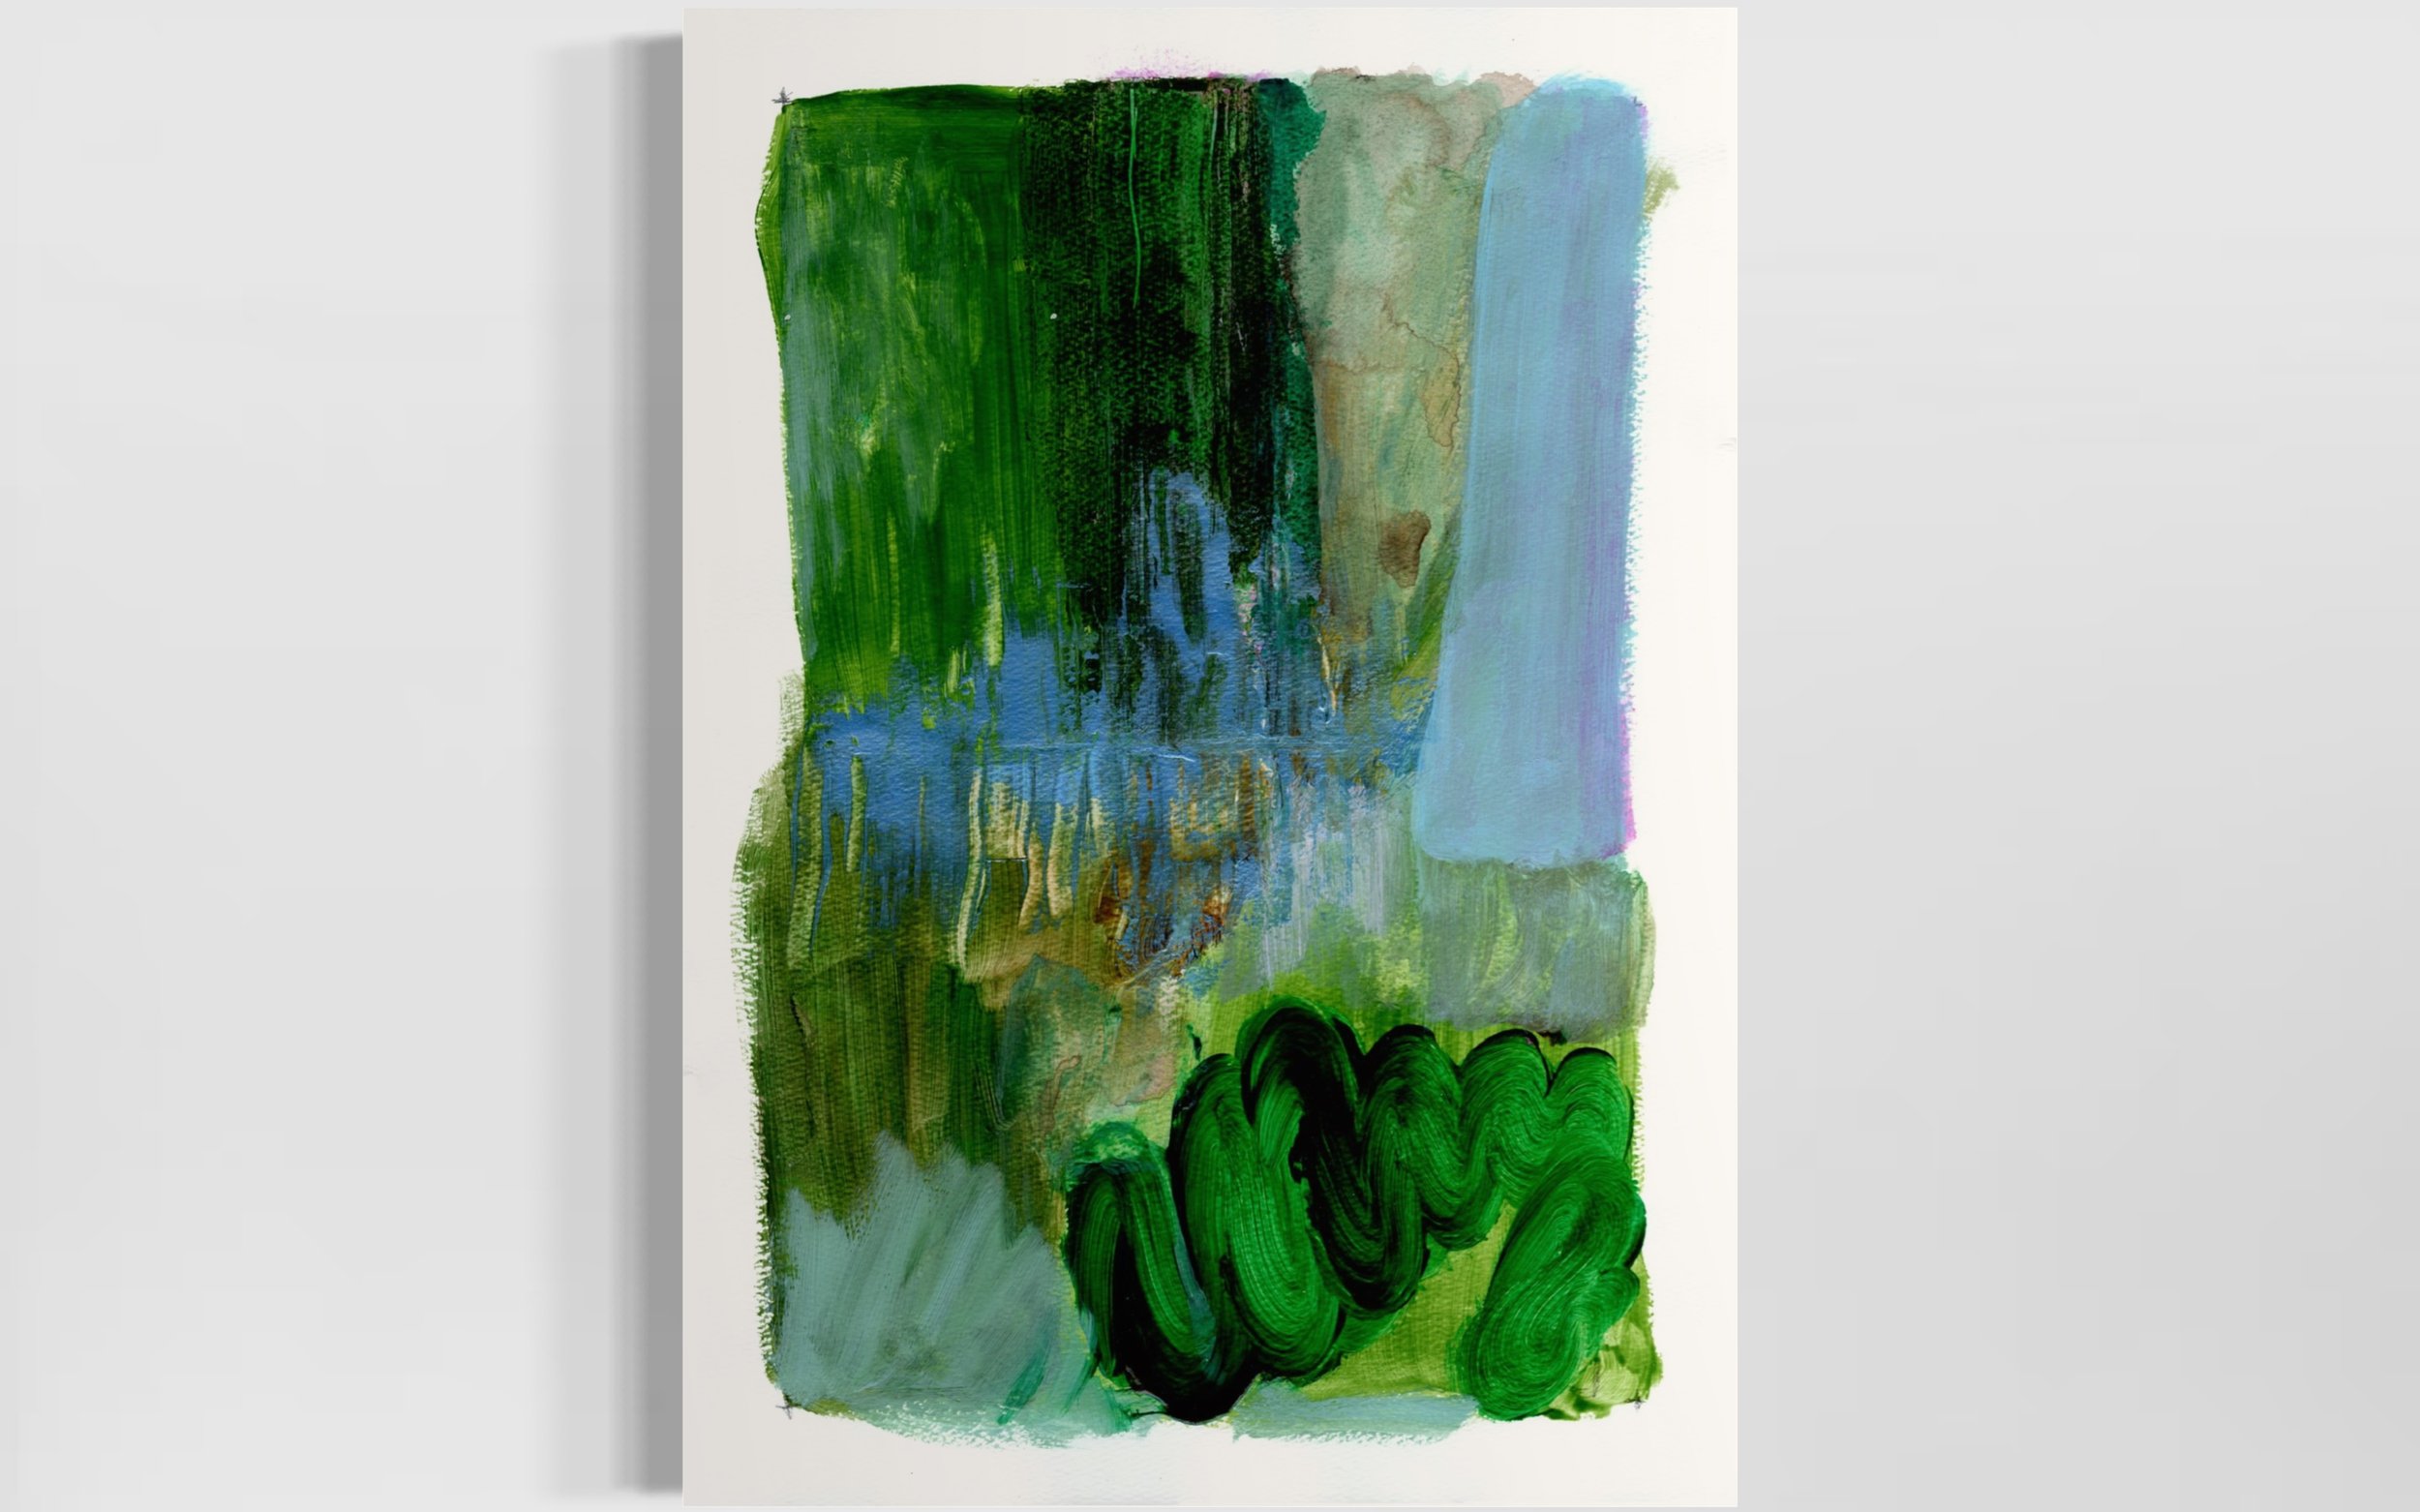
How to Merge Scanned Images of Large Paintings Using an A4 Scanner
How to Merge Scanned Images of Large Paintings Using an A4 Scanner
As an artist, you’ve likely faced the challenge of digitizing larger artworks, such as A2-sized paintings, when your scanner only accommodates A4 sheets. The process of stitching multiple scans into one seamless image can feel daunting, but with a few steps and the right tools, you can achieve a professional result.
Here’s a guide to help you merge scanned images of your artwork without compromising quality:
Table of Contents
Step 1: Scan Your Artwork in Sections
Prepare Your Artwork:
Place your painting on a flat surface with good lighting.
Ensure your A4 scanner is clean and free of smudges to avoid artifacts on the scanned images.
Scan Overlapping Sections:
Divide your painting into smaller, overlapping areas that fit the scanner bed.
For each scan, include about 10-20% overlap between sections to help with alignment later.
Use consistent settings for all scans (e.g., 300 DPI for print quality or 150 DPI for digital use).
Step 2: Import Scanned Images into Photoshop
Open Each Scan as a Layer:
Open Photoshop and create a new document with a canvas size large enough to fit your entire artwork.
Import each scanned section as a separate layer.
Go to
File > Place Embeddedor drag and drop the images into the document.
Step 3: Auto-Align the Layers
Ensure Proper Layer Setup:
Rasterize all layers: Right-click on each layer and choose
Rasterize Layer.Check that all layers are visible and unlocked.
Align the Layers:
Select all layers in the Layers panel (hold
Shiftand click on each layer).Go to
Edit > Auto-Align Layers.Choose Auto in the dialog box and click OK.
Photoshop will align the layers based on their overlapping content.
If Auto-Align is grayed out, ensure:
The layers are rasterized and not Smart Objects.
The document is in RGB mode and either 8-bit or 16-bit (check under
Image > Mode).
Select layers (each scanned file and right click to rasterize layers)
Step 4: Blend the Layers Seamlessly
Use Auto-Blend:
With all layers still selected, go to
Edit > Auto-Blend Layers.Choose Panorama and check Seamless Tones and Colors.
Click OK.
Photoshop will blend the overlapping areas, creating a unified image.
Step 5: Crop the Canvas to the Final Image
Trim the Edges:
Use the Crop Tool (
C) to remove excess background areas.Alternatively, go to
Image > Trimand select Transparent Pixels to crop the canvas automatically.
Scanned on Epson Scanner and Auto-merged on Photoshop - This is exported as low quality file under 5mb
Step 6: Save and Optimize the File
Save a High-Quality Version:
Save the merged image as a PSD file for future edits.
Export for Sharing:
To share or print, go to
File > Export > Save for Web (Legacy).Choose JPEG for smaller file sizes or PNG for high-quality transparency.
Adjust the quality settings to keep the file size under 5 MB if needed.
Tips for Artists Merging Large Paintings
Use Consistent Lighting: Uneven lighting on scans can create visible seams. Ensure consistent brightness.
Invest in a Good Scanner: High-resolution scans make stitching easier and result in better-quality images. I use this Epson scanner.
Practice Patience: Achieving a seamless merge may take some trial and error, especially for highly detailed artworks.
A Personal Note on Art and Connection
Digitizing large artworks using an A4 scanner is entirely possible with the right workflow. By scanning in overlapping sections and using Photoshop’s Auto-Align and Auto-Blend tools, you can create a high-quality digital version of your painting. This process ensures your work is ready to share online, print, or archive without losing its essence.
FAQs
1. What DPI should I use for scanning artwork?
For printing purposes, use at least 300 DPI. For online sharing, 150 DPI is sufficient.
2. How much overlap is needed for merging scans?
Include about 10-20% overlap between each scan for better alignment.
3. Why is Auto-Align not working in Photoshop?
Ensure all layers are rasterized, and the document is in RGB mode with either 8-bit or 16-bit color depth.
4. How can I reduce the file size of the merged image?
Use Photoshop’s Save for Web (Legacy) feature to adjust quality and file size, or compress the file using an online tool.


